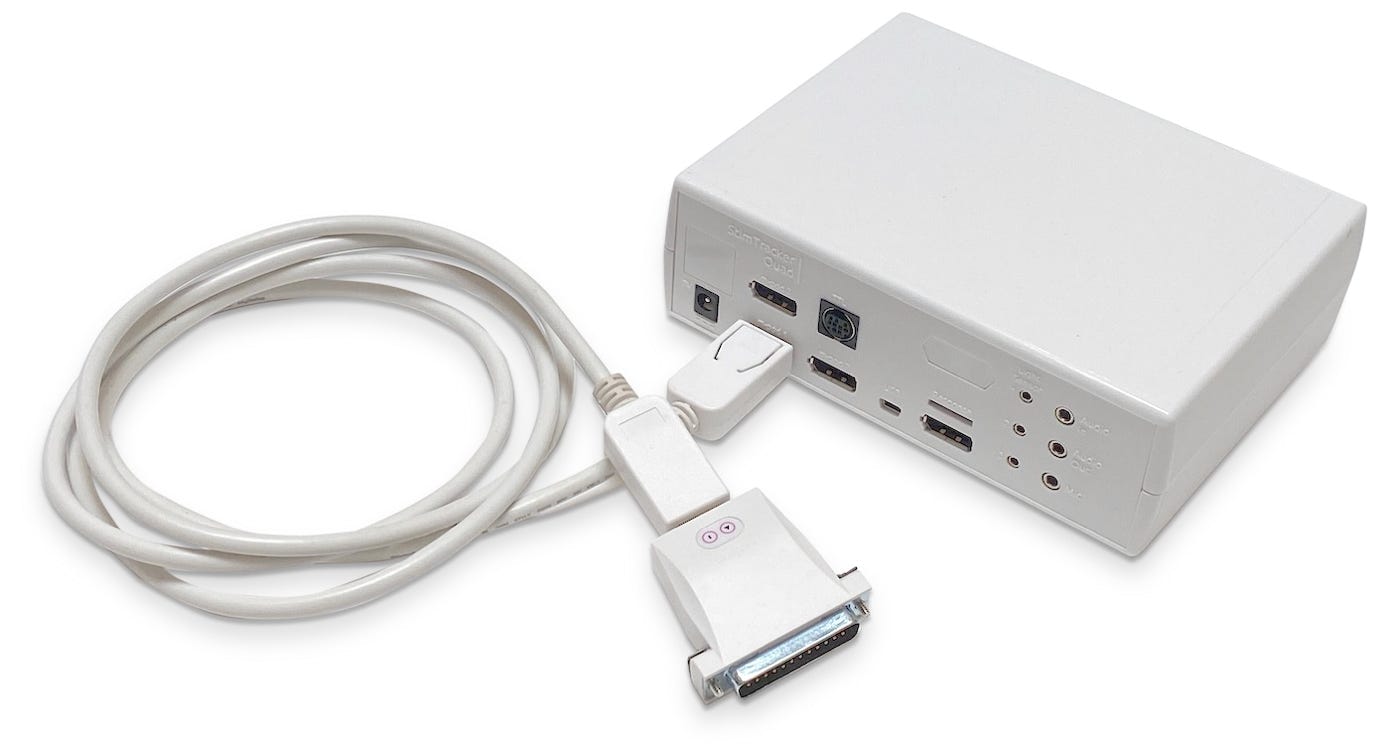
StimTracker has a number of capabilities. This page provides a starting point and a “road map” to other support notes.
To being, connect the universal AC adapter that’s included. StimTracker cannot be powered by the USB connector from the computer.
m-pod provides a plug-and-play solution to your EEG, NIRS, eye tracker, and other data recorders. Skip this section if you did not purchase an m-pod with StimTracker.
When you turn on StimTracker:
When StimTracker generates an event marker, e.g. due to onset of light on the light sensor, m-pod’s other LED (▲) will light up. This LED will be on when any output line is on.
StimTracker accepts up to five sources of input:
The first four types of input are handled directly and autonomously by StimTracker –no software drivers are needed. If you want to send event markers from the computer, you will need to install USB drivers.
Links for installing USB drivers and using the above features are described on the StimTracker main support page.
Under the hood, StimTracker Duo and Quad provide some advanced and unique features that allow you to precisely control how and when event markers are generated.
With these features that are built into the XID firmware (and supported by speedy hardware), you can:
These features are described on the Signal Flow page. They can be configured using the free Xidon 2 software or via our open source C++ and Python libraries.
These features are in addition to the m-pod signal mapping feature, which lets you assign any event marker to any output line.
Last Revision: Aug 30, 2018

PRODUCTS
SUPPORT
STAY IN TOUCH
© Copyright 2024 Cedrus Corporation, P.O. Box 6309, San Pedro, CA 90734 - USA
Phone: +1-310-548-9595. Send us an email. See privacy policy.
qwerasdf